Add a delegate in Concur
Travel and p-card
How to add a delegate in Concur
You can assign another user—called a delegate—to act on your behalf in Concur. If your agency has a travel coordinator or administrative assistant who’s in charge of travel, you can assign them to be your delegate for creating and modifying travel requests, reimbursement requests, and p-card reconciliations.
If you’re an approver, you can assign a delegate to approve on your behalf. However, your delegate needs to have similar job responsibilities as you. For example, if you’re a division director, your delegate should be a deputy director or someone similar.
Add a delegate
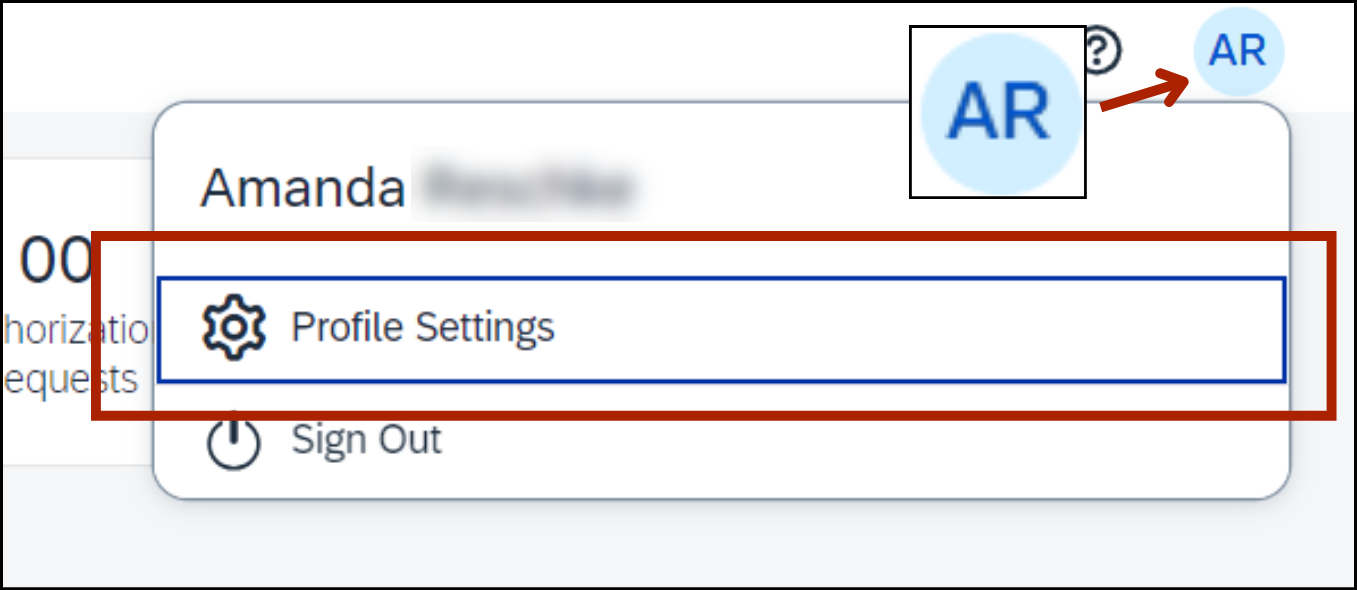
Click the blue circle with your initials in the top-right corner of the page.
Then click Profile Settings.
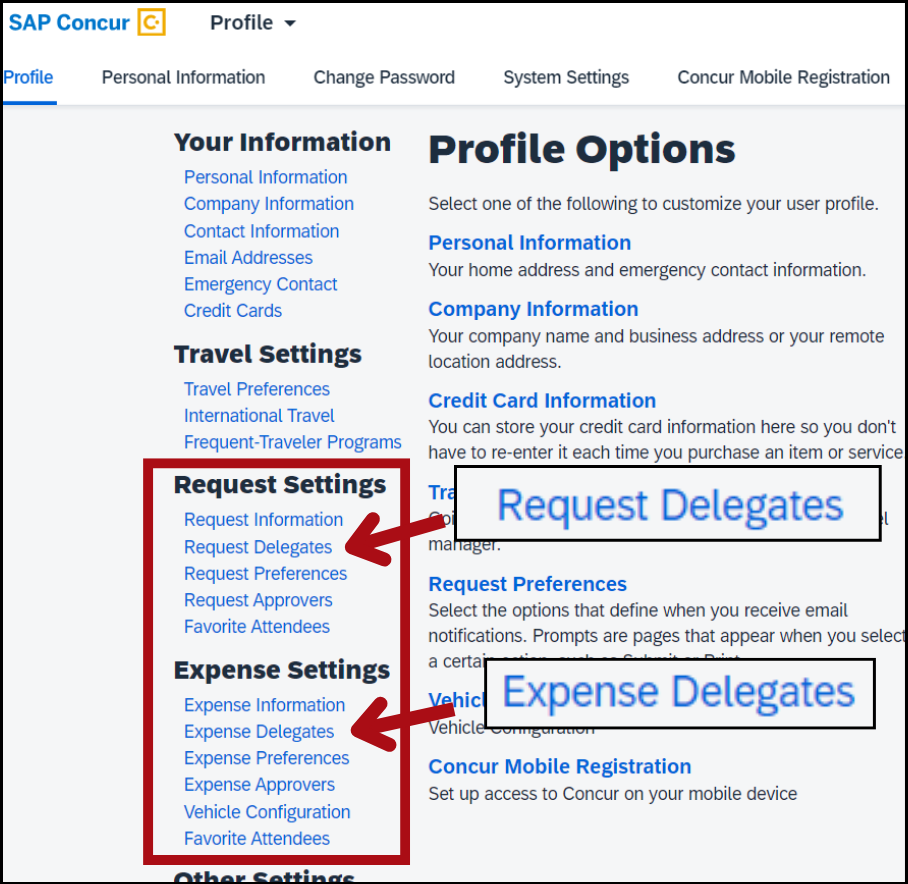
You’re at the Profile Options screen.
In the menu on the left side, click Request Delegates or Expense Delegates. Either option will take you to the same screen.
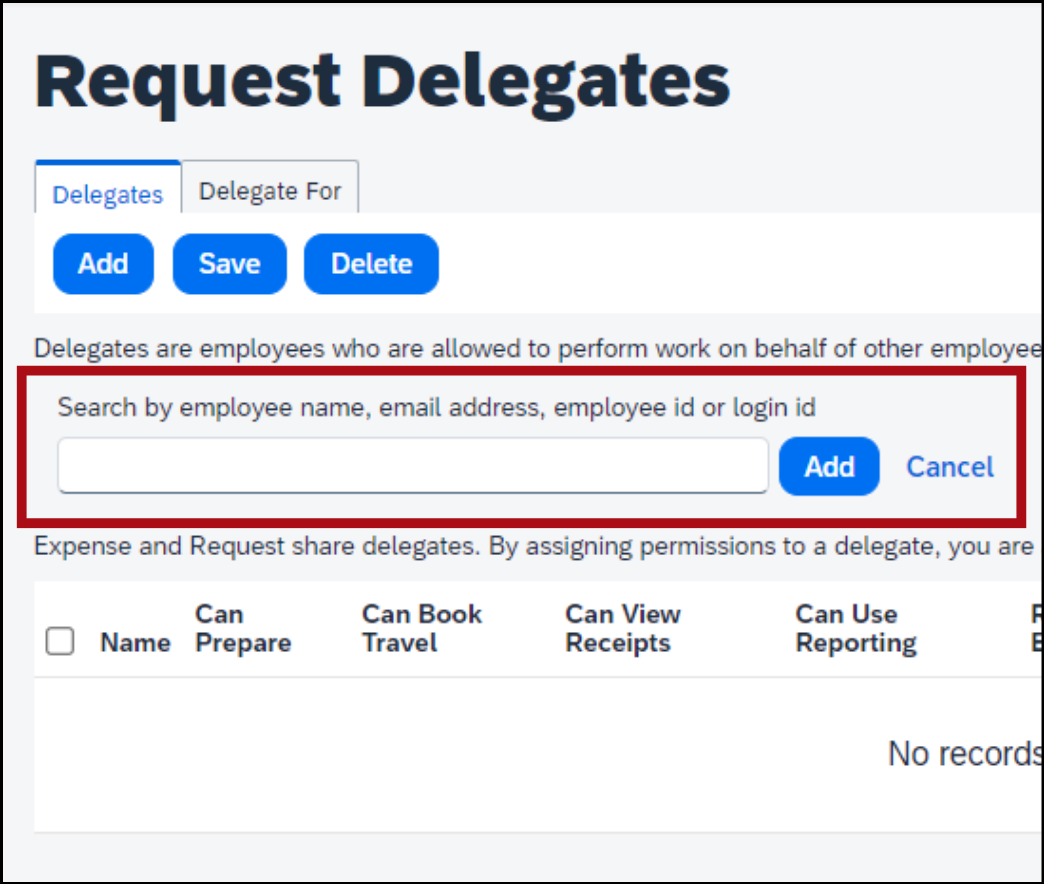
You’re at the Request Delegates or Expense Delegates screen. In the Delegates tab, click the blue button Add.

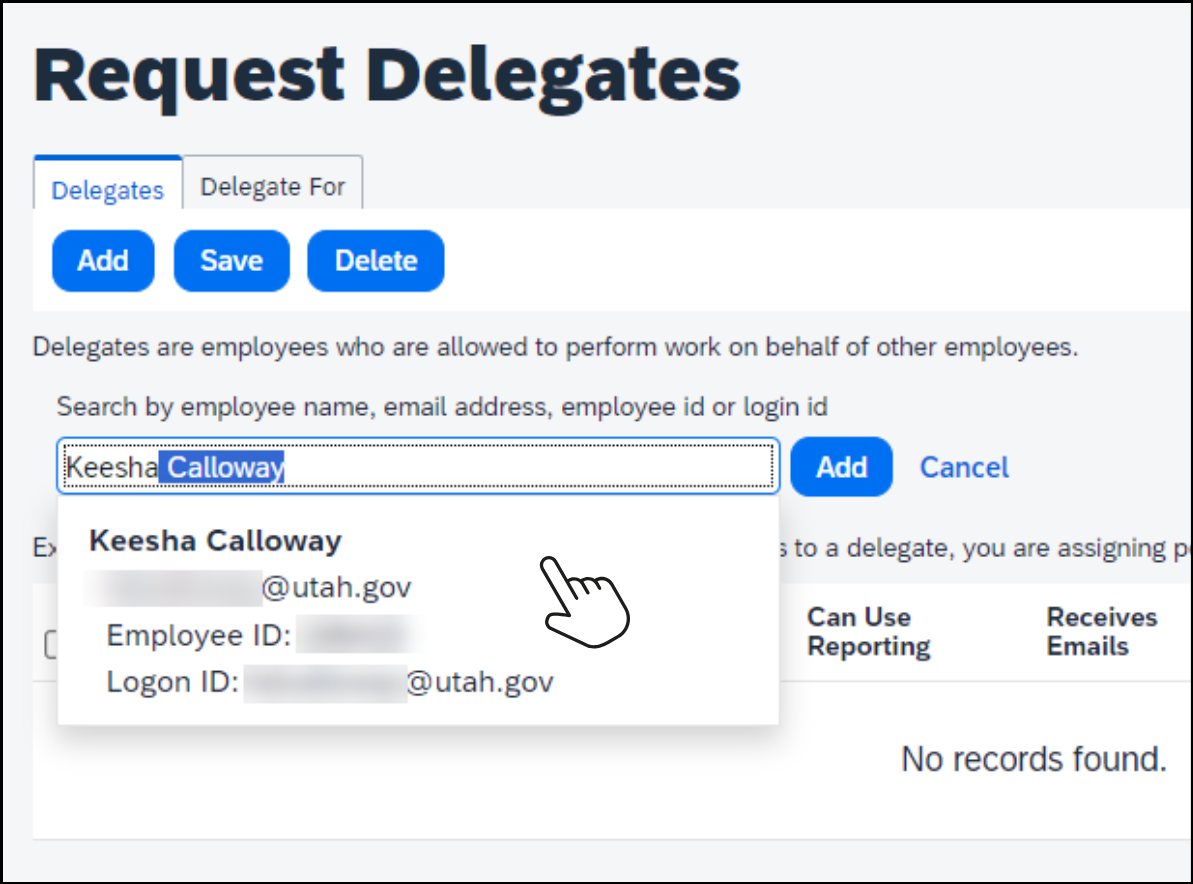
Search for the employee who will be your delegate.
Type their name, email address, or employee ID number in the search field.
The employee’s information will auto populate. Select the person who will be your delegate.
Give permissions to create on your behalf

Whatever permissions you give your delegate will apply to everything: travel requests, reimbursement requests, and p-card reconciliations.
Once you’ve added your delegate, you’ll see them in your list. Now you can check the boxes to give them permissions.


Select the box Can Prepare to give your delegate permission to create, edit, and review travel requests, reimbursement requests, and p-card reconciliations.

If you select Can Prepare, the box Can View Receipts will be selected automatically. Keep it checked. This box gives your delegate permission to view and add receipts to your requests or reconciliations.


Select the box Can Book Travel to give your delegate permission to book your travel using the booking tool.
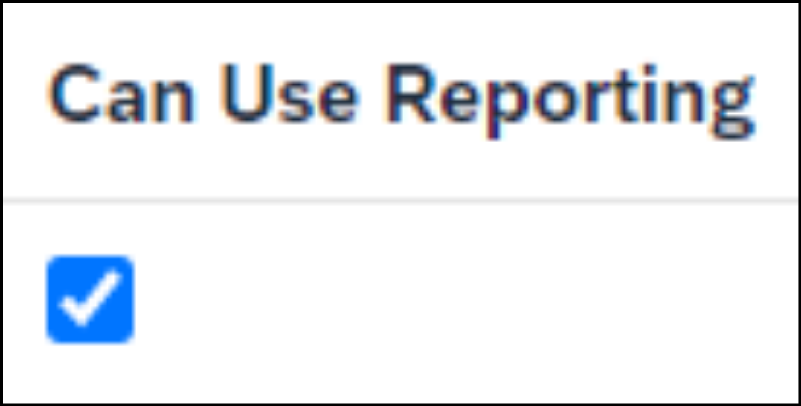
Select the box Can Use Reporting to give your delegate permission to run and view reports. If you’re unable to select this option, it’s because no reports are available.

Select the box Receives Emails to have email notifications about your requests or reconciliations sent to your delegate. If you check this option, both you and your delegate will receive email notifications.
Once you’ve selected the permissions, click the blue button Save.

You’ll see a banner that says, “Your changes have been saved."
You’ve successfully added a delegate!
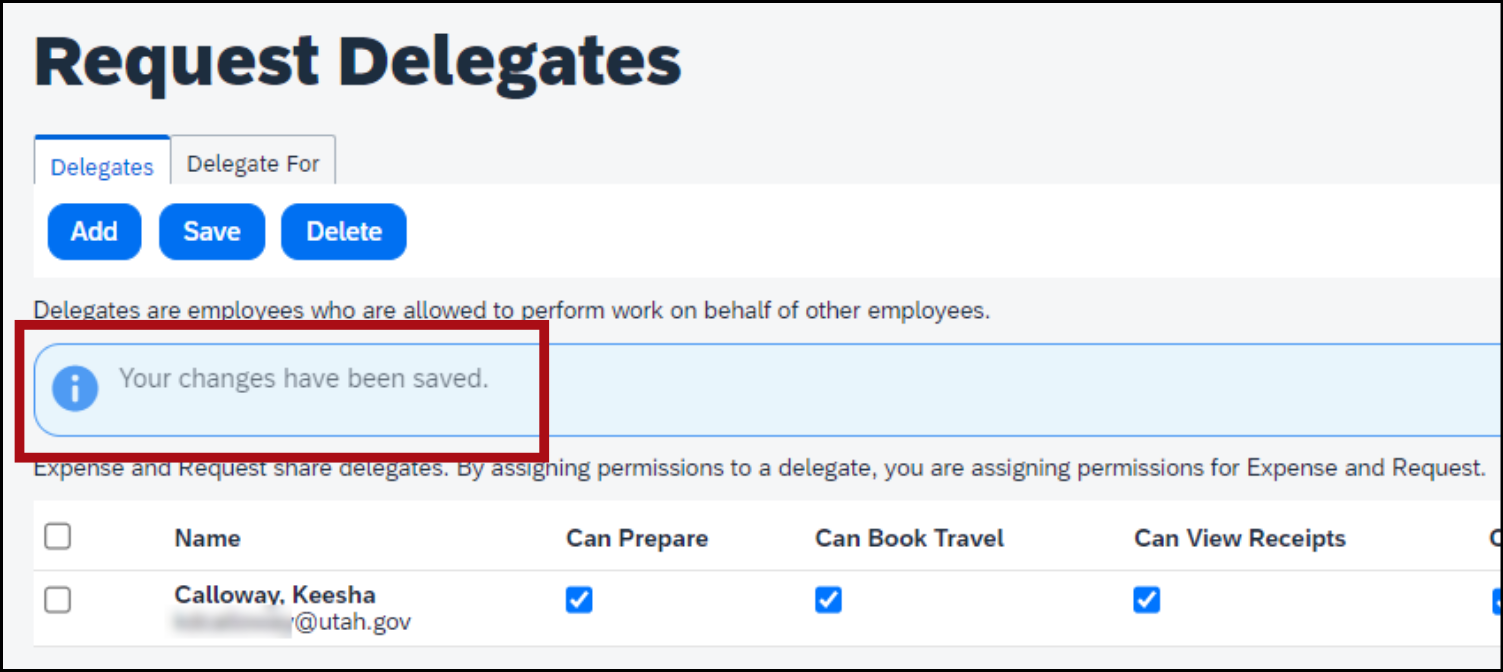

Remember, you’ll still need to submit your requests or reconciliations yourself, because your delegate can't to do that on your behalf.
Give permissions to approve on your behalf

Any approver permissions you give your delegate will apply to everything: travel requests, reimbursement requests, and p-card reconciliations. Remember, you can’t assign just anyone as your approver delegate; your delegate needs to have similar job responsibilities as you.
Once you’ve added your delegate, you’ll see them in your list. Now you can check the boxes to give them approver permissions.

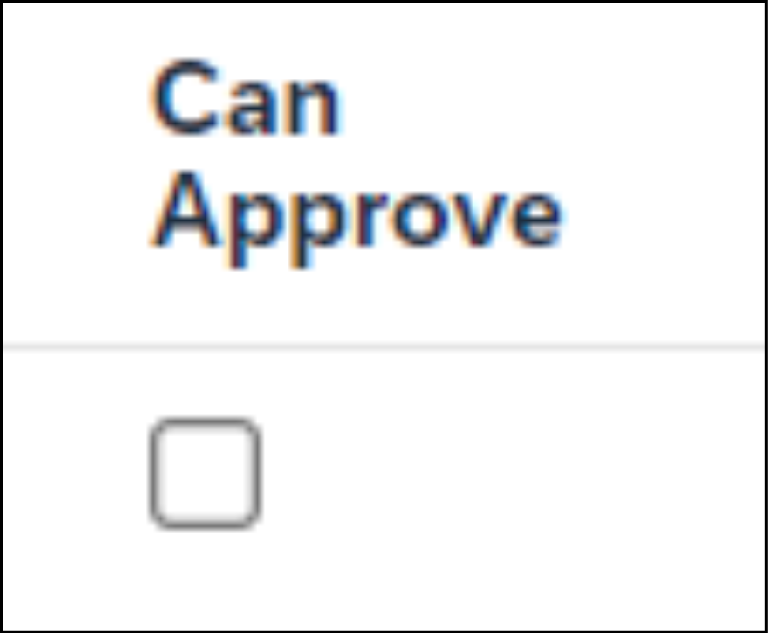
Select the box Can Approve to give your delegate permission to approve travel requests, reimbursement requests, and p-card reconciliations.

If you select Can Approve, Can Approve Temporary, or Can Preview For Approver, the box Can View Receipts will be selected automatically. Keep it checked. This box gives your delegate permission to view receipts in the requests or reconciliations they’ll be approving.

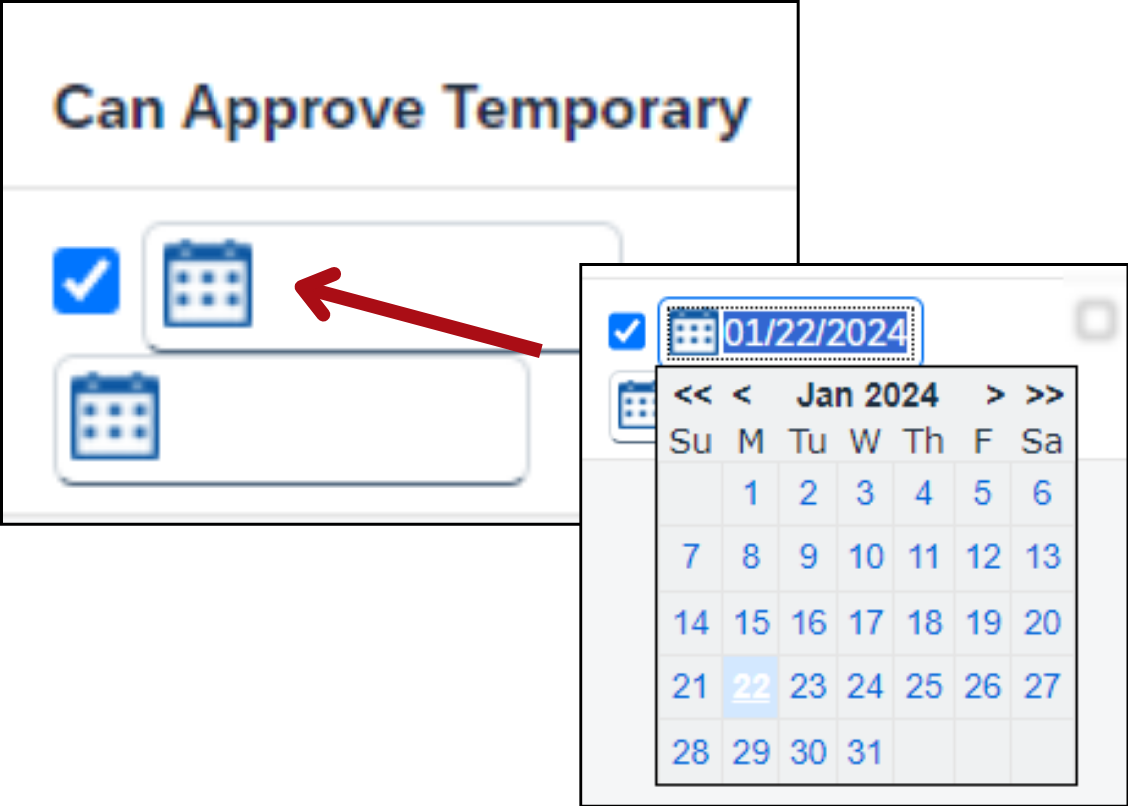
Select the box Can Approve Temporary to give your delegate permission to approve for a selected time frame. Click the calendar icons to select a start and end date for your delegate to approve on your behalf.
When the end date has passed, your delegate’s approval permissions will be automatically removed.
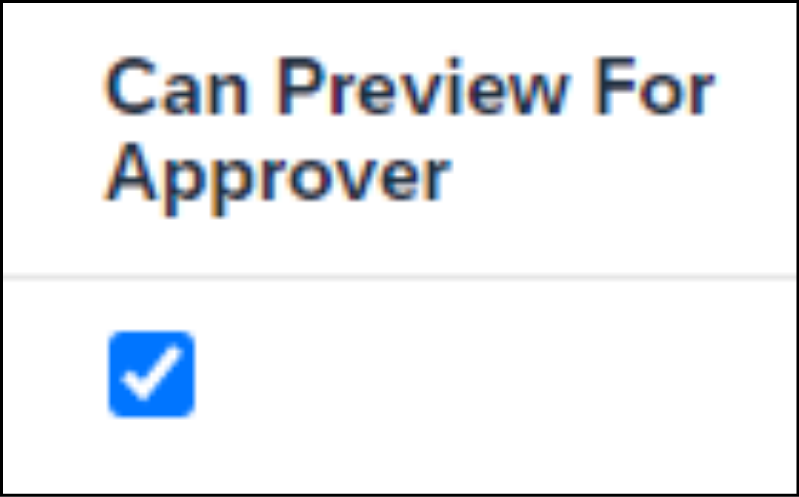
If you want a delegate to preview requests and reconciliations, select the box Can Preview For Approver. If you give a delegate this permission instead of Can Approve, they won’t be able to approve, but they’ll be able to view the request or reconciliation.
This permission is great if you want someone to make sure the submitted requests or reconciliations are complete and accurate before going to you to approve.

If you select Can Preview For Approver and Receives Approval Emails, then your previewer delegate will also receive emails notifying them that a request or reconciliation is ready for approval. They can then preview it, and click the button Notify Approver to send it to you.

Select the box Receives Approval Emails to have email notifications about the requests or reconciliations sent to your delegate. If you select this option, both of you will receive email notifications.
Once you’ve selected the permissions, click the blue button Save.

You’ll see a banner that says, “Your changes have been saved."
You’ve successfully added a delegate!

You might also like...
Concur help
Learn about Concur, find more how-to guides, and get answers to common questions
Remove a delegate
Learn how to remove a delegate you assigned or how to remove yourself as a delegate
Act as a delegate
Learn how to create and edit requests and reconciliations on someone else's behalf
Close a travel request
Learn how to close a travel request after you've been reimbursed